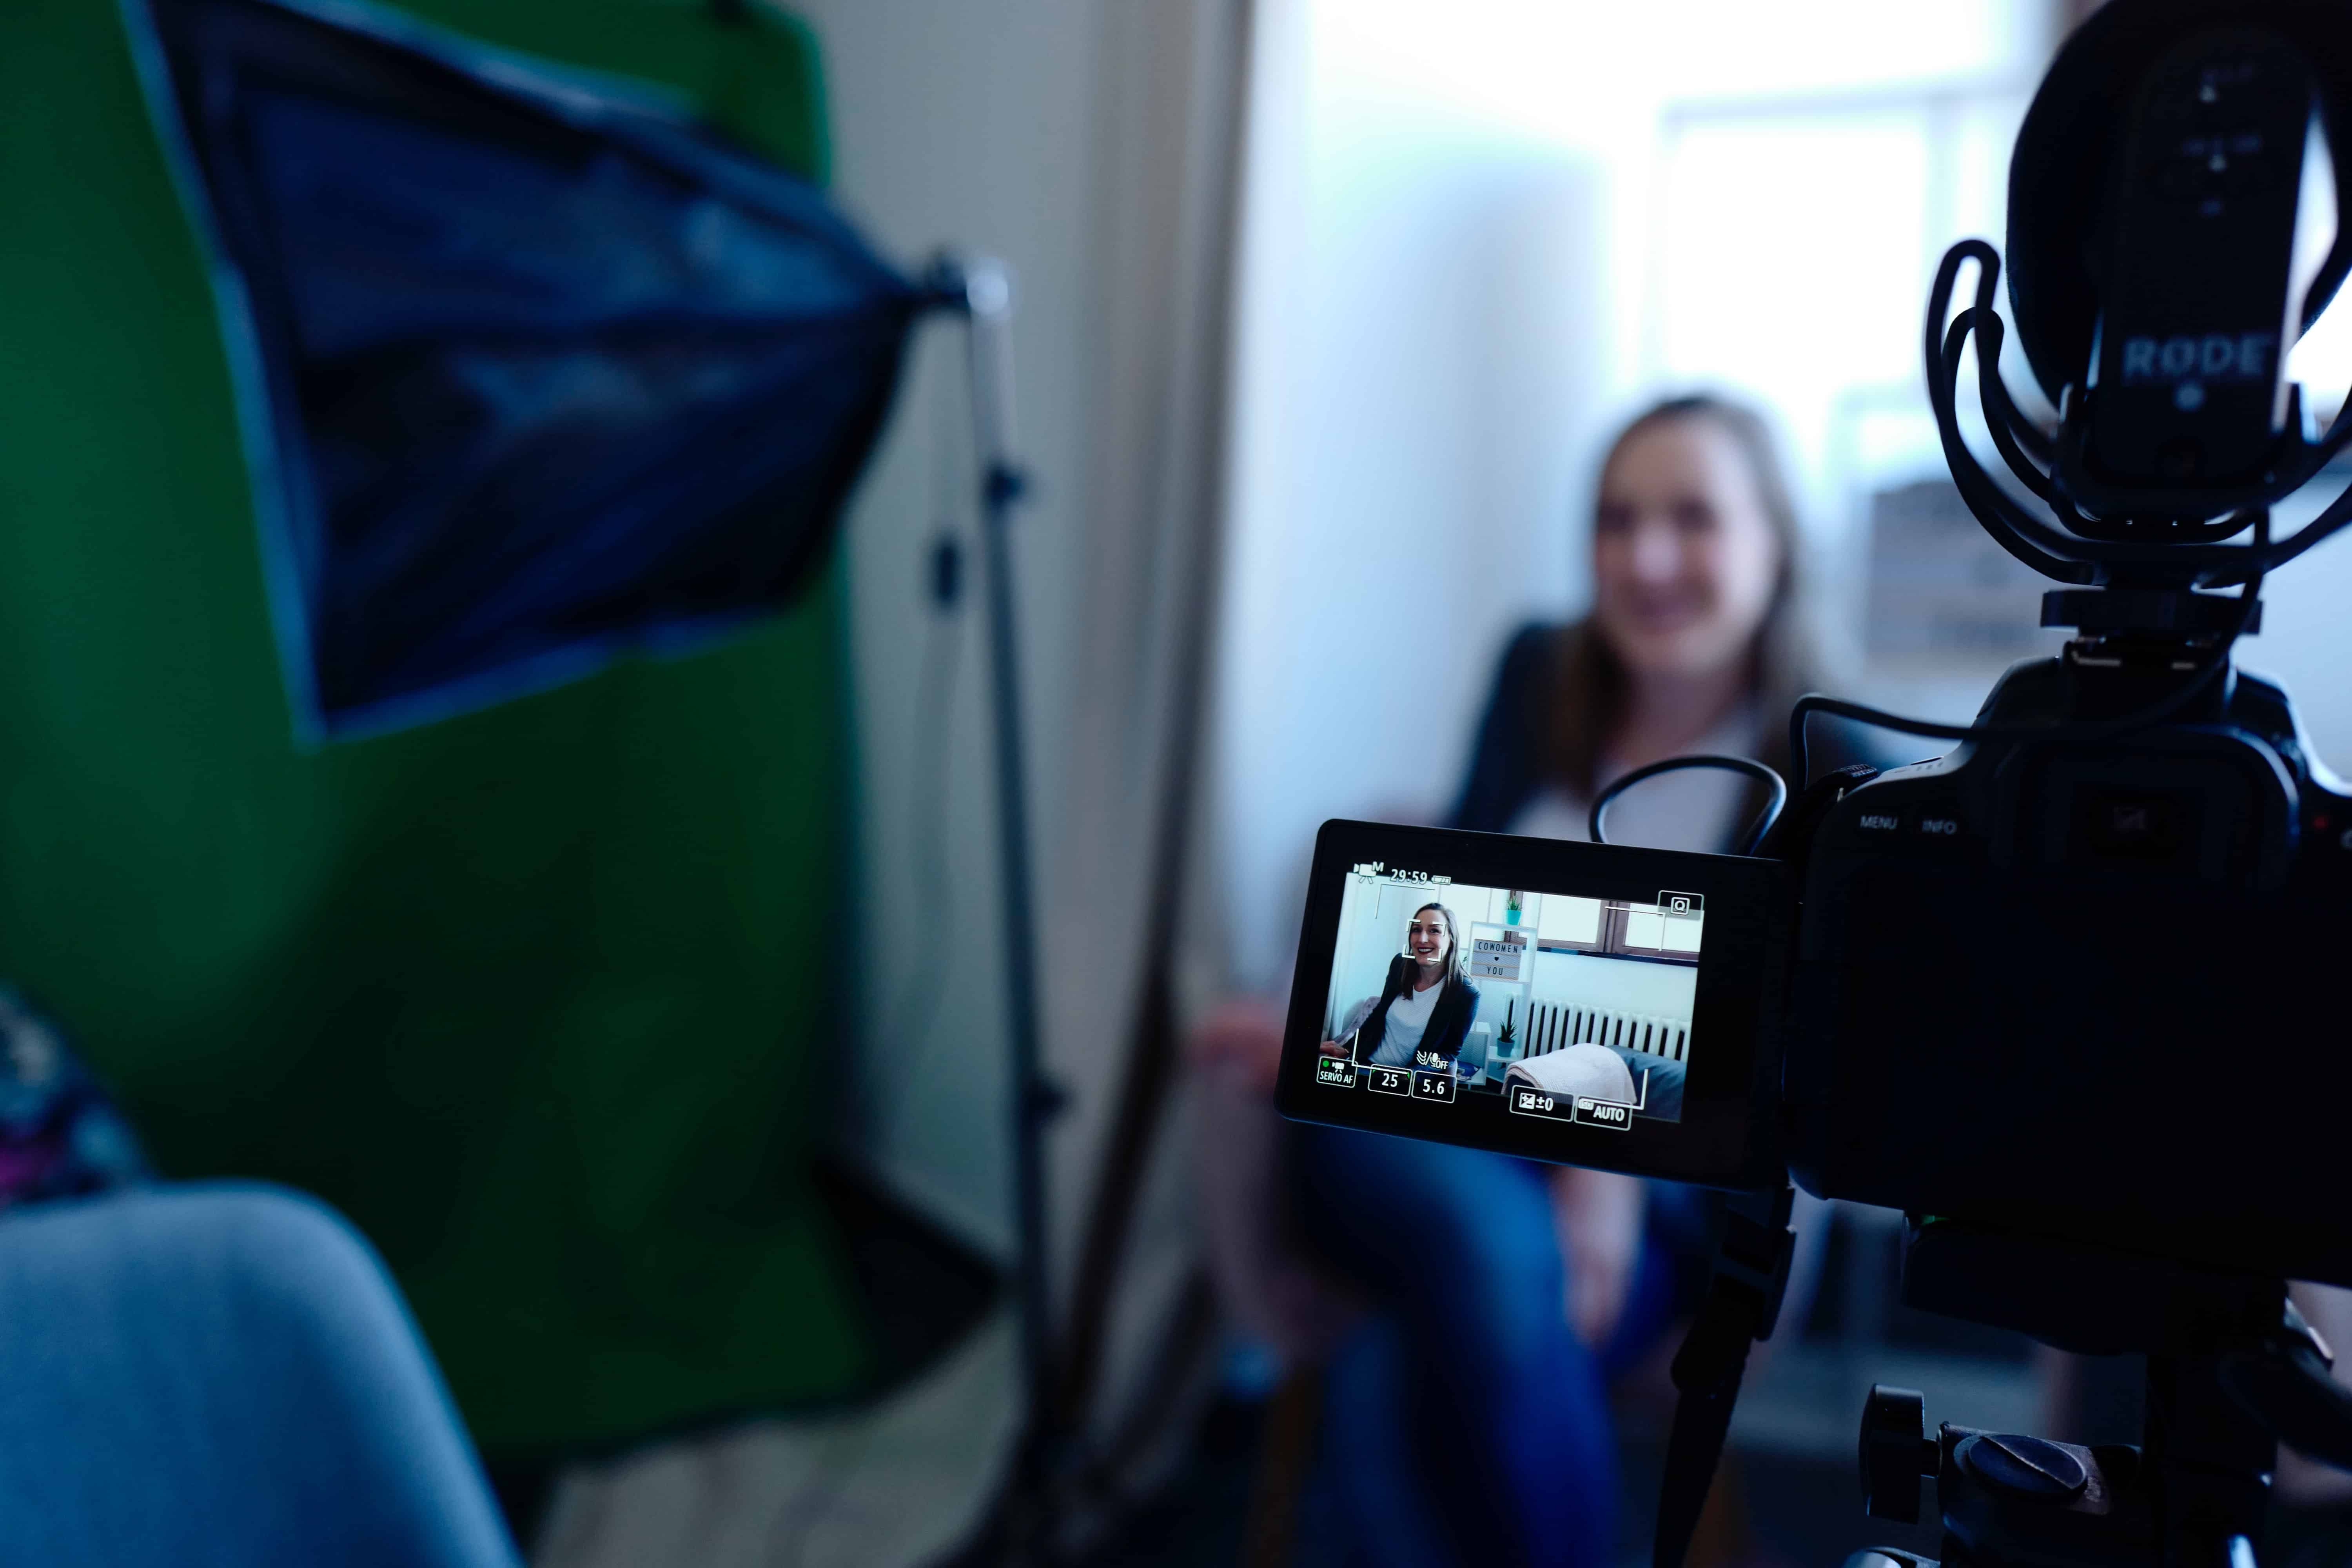
Producing video content for the first time can be an intimidating process if you’ve never done it before. Just like anything else it takes time to gain the knack. Just prior to starting my first video channel on YouTube I did some research to figure out how to do simple video lighting and let me just say that this process rocks!
How to do Simple Video Lighting? Have your subject stand at a 30 to 45-degree angle from a large window. Then use a piece of foil or cardstock to reflect the light from that window and soften shadows. Finally, use a floor lamp to illuminate the back of your subject’s head adding depth.
 There are many ways to provide simple lighting for your videos and they can be done on the cheap. You don’t need to be a lighting expert or empty your bank account. Here in the United States, you can visit garage sales, second-hand stores or even your own garage to find helpful items that can get the job done like a pro. In fact, if you really work at it, your total expense just might be $0.
How to Set Up Simple Video Lighting
If your aim is to set up video lighting like a pro but keep it simple – you’re in the right place. Below we’re going to provide you with some ideas on how you can set up simple lighting for your online videos without breaking the bank!
Simple Video Lighting with a Window
First, we need to “control” the ambient light in the room. Ambient lighting includes any lighting that is already present in the room before we make any changes. This lighting can consist of natural light from a window but also overhead lighting, accent lighting, and task lighting.
To start, we need to turn off all the lights and “reign in” the light from the window by using the sheers, blinds or any other window covering you may have access to. We’ll then start to “build” our lighting from this point. Once we’re finished, we may be able to add back some accent lighting for a nice effect.
If you don’t have access to an exterior window or you need to film at night, don’t worry, we have another suggestion below that can be used to get the job done. Having access to a room with a large outside window is ideal in order to keep it simple but it is not the only way.
Review the video below to see how natural light and a few items you may have around the house can be used to produce fantastic lighting!
Key Light Au Naturel
Natural lighting can be used to provide the key light (primary light) needed in your videos. It’s to our advantage if the window is large and has a sheer curtain for flexibility but we can also cover the window with a blanket or some type of sheer material if we need to. Our windows have white translucent blinds, so this helps to control the amount of light coming through the window on sunny days.

If we’re experiencing a cloudy day, we should have some nicely diffused light coming through that window… making it ideal for our video shoot.
Again, we need to have our subject stand at approximately a 30 to 45-degree angle from the window with the camera facing the subject. The light from the window, our key light, should illuminate the one side of the subject’s face while leaving the other side with shadows.
Filling the Shadows With a Fill Light
Next, let’s consider the shadows on the other side of our subject’s face, opposite the window. To help soften those shadows, we can use various items to reflect light from the window.
We can use several reflective items to get the job done, items such as foil, a mirror, foam core board, white cardstock and the like. We could also purchase a 5 in 1 reflector rather cheaply but it is not necessary.
Remember, the fill light is not intended to be as strong or bright as the key light but is intended to “fill” the shadows created by the key light.
In our case, let’s use foil. You can use tape, a stapler, or even a paperclip to attach your foil to a tripod or anything else we have that will allow us to bring the foil to near eye level of our subject. The foil should be facing the shadow-filled side of the subject and as well as the window We can experiment with changing the angle on the fill light to create differing effects. At this point, we should also consider softening the key light if we feel the light from the window is too bright – which can “wash out” our subject depending on their skin tones and clothing.
Do I Really Need a Backlight in My Video?
Next, we’ll consider the backlight or hairlight used to provide depth in our video. For this light, we can use a floor lamp or even a directional desk lamp to provide the ideal lighting we need. The backlight shines onto our subject from the back and illuminates the back of their head or hair typically… thus the reason why its also called a hairlight.
Technically, the backlight is probably the least important light in 3-point lighting. However, this light provides depth to our shot and is a nice finishing touch. It helps to separate our subject from the background visually and really separates us from the pack in providing our viewers with a quality video product.
More Information
The Background of Our Simple Video Lighting
Our background needs to be uncluttered and be free of distractions. Oftentimes, I like to blur the background in my videos which places all the attention on my subject.
Be mindful that light fixtures in your background aren’t protruding out of our subject’s head or other background pitfalls.
Another nice feature to consider is to add a few accent lights back into our background. These lights are not used to illuminate our subject but only to provide some interest behind our subject.
How Many Watts Do I Need for Video Lighting?
The amount of wattage needed for our video project will depend on the specific project. However, most often, the key light is the strongest light and is anywhere from 500 to 1000 watts. We often use a softbox that came with our lights that are 135 watts and it does just fine.
If our shot location is especially dark with no external light, our wattage will be much different than a brighter, sunnier location. A video shot in a bright area will need to have the natural light regulated and then a fairly strong light on the fill side to balance it out. However, we can get creative with this and test various angles and lighting… let’s make this our own.
Simple Video Lighting with One or Two Lights
 If our video location or studio doesn’t have a window and we’re trying to keep it simple, we can use other forms of lighting. However, our primary light will need to be in the key position.
As stated above your key light is typically off to the side of your subject at approximately a 45-degree angle. This can be your only light when using something reflective for the fill “light”.
Get creative with lights. If we have access to a work light in our garage or a desk or floor lamp that is rather bright, we can use these items as a key light. However, be aware that those lights are typically rather stark, so we will most likely need to diffuse them by placing a piece of parchment paper over them.
If we have access to a 2nd light source, we can add in the backlight to further develop our scene.
Related Items
What is 4-Point Lighting?
The 4-point lighting set up is identical to 3-point lighting with the exception of the 4th light. This extra light is installed low to the ground or above the subject’s head. The light illuminates the background while eliminating background shadows and providing greater depth.
What is Soft Light?
Soft light is diffused light, like a cloudy day. Soft lighting can almost give the appearance of no artificial lighting. The shadows are much less obvious than with hard light. Soft light is most often used with interviews as it is a more forgiving and flattering look.
